Flee the Facility Map Tier List: Best Layouts, Weak Spots, and Practical Tips
Compare map layouts by the decisions they create for Survivors and the Beast, then use the current round to confirm what is actually safe.
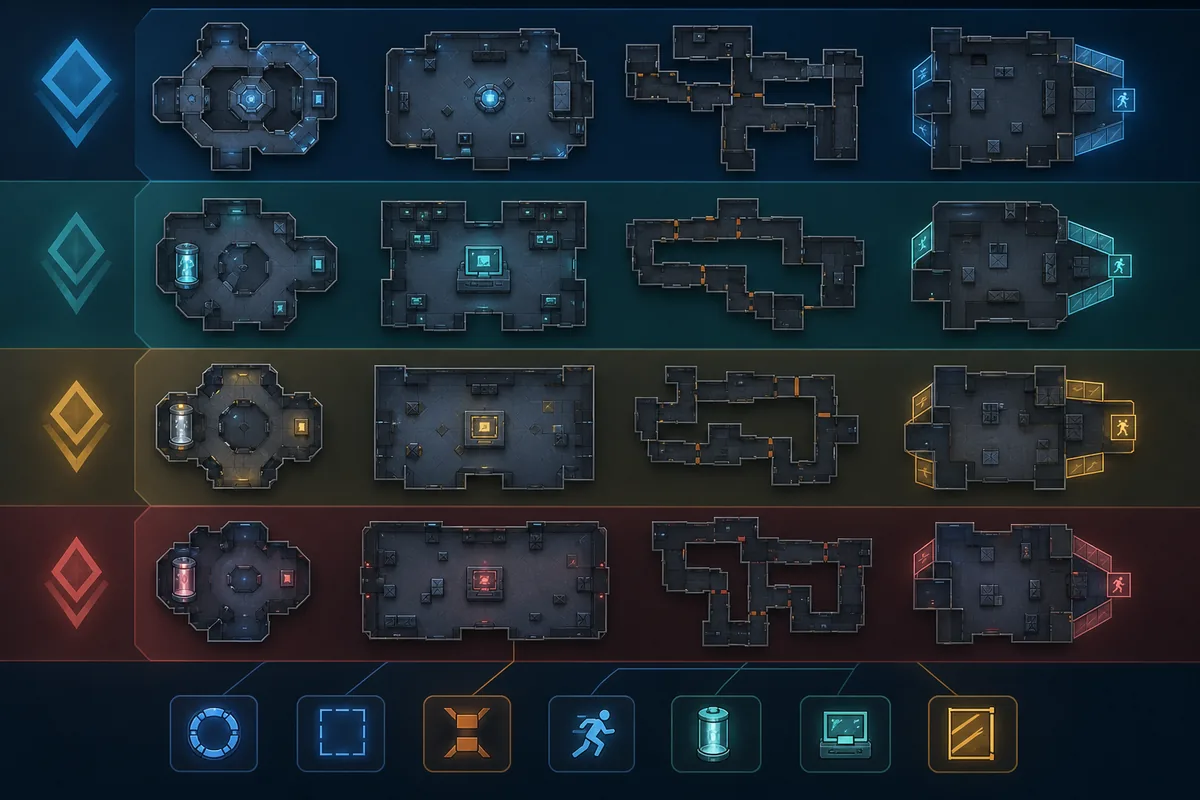
How this Flee the Facility map tier list works
There is no official permanent tier list that can prove one Flee the Facility map is always the best. A useful ranking changes with the goal: Survivors usually prefer several escape objects, short rescue connections, and enough space to break line of sight, while the Beast benefits from funnels, commitment rooms, and objectives that sit inside a short patrol loop.
This guide therefore ranks layout patterns rather than pretending that a community label is a game rule. Start with the S-to-C table, then test the current map by checking objective spread, escape choices, visibility, and rescue travel time. A map can move between tiers when the lobby size, player skill, or map version changes.
Editorial note: The tier labels below are a repeatable comparison framework, not an official Roblox ranking. Named maps are examples for practice, not claims that their exact geometry can never change.
How to rank a Flee the Facility map
A map tier list is useful only when every tier has a reason. Score the live layout with four questions instead of copying a screenshot or a video title.
1. Objective spread
A strong Survivor layout gives the team more than one reasonable computer area and does not force every player through one visible room. A Beast can value the same spread when unfinished objectives sit close enough to patrol without losing the whole map.
2. Escape choices
Count the useful windows, vents, doors, and second exits around an objective. One escape object can be enough for a confident player, but two or more independent choices make a map less predictable when a chase begins.
3. Sightlines and funnels
Long sightlines help the Beast read movement, while sharp corners and connected loops give Survivors a chance to reset a chase. A narrow corridor is not automatically bad, but a corridor with no alternate exit deserves a lower tier for Survivor safety.
4. Rescue and rotation distance
A map may feel safe until someone is frozen. Check how far the nearest teammate must travel, whether the pod is visible from a patrol route, and whether the rescue path crosses the same chokepoint that caused the capture.
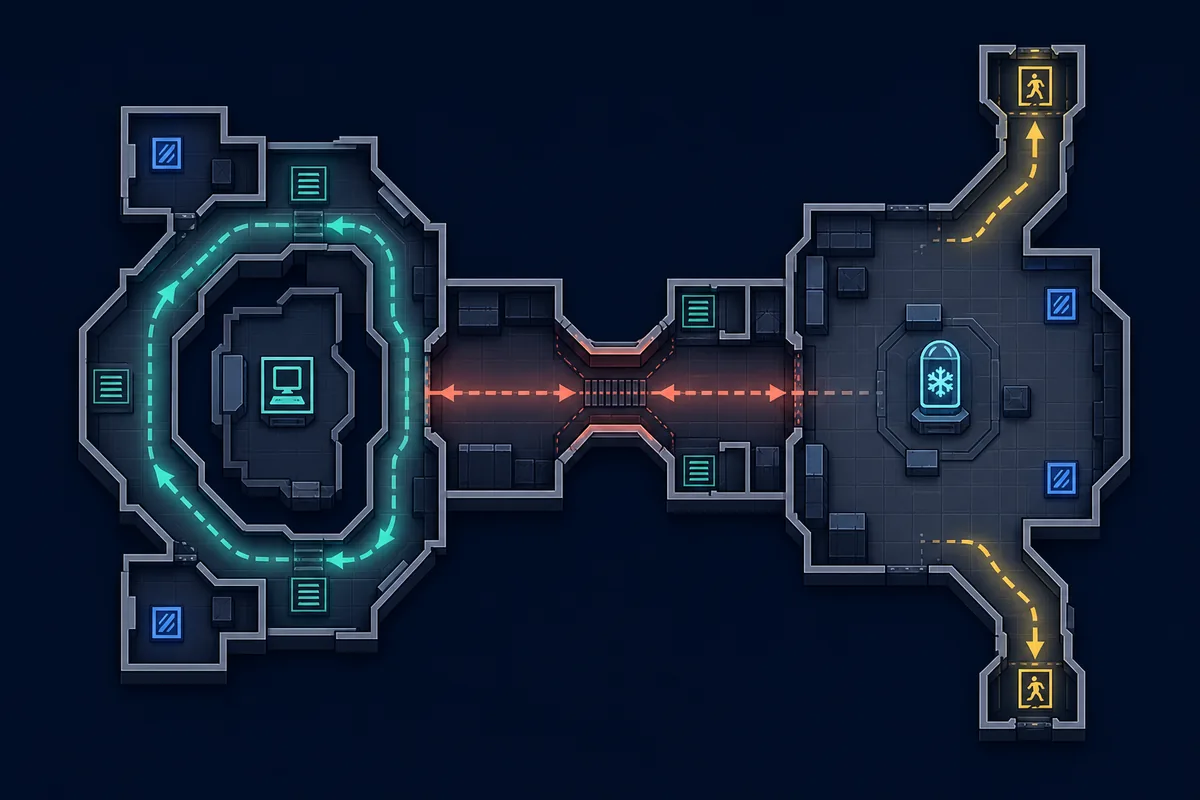
Flee the Facility map tier list: S to C
Use these tiers as a layout comparison, not as a permanent list of official map names. The same map can feel different in a small lobby, a 10-player round, or after a rework.
| Tier | Layout pattern | Why Survivors may like it | What the Beast can exploit |
|---|---|---|---|
| S | Multiple loops, two or more escape options, and short rescue connections | Players can rotate, break line of sight, and split objectives without repeating one doorway | A team that makes noise or repeats the same loop gives the Beast strong information |
| A | Balanced rooms with a clear landmark and at least one reliable reset route | Easy to call out and flexible enough for normal computer and rescue rotations | A commitment room or predictable exit path can still turn the layout into a funnel |
| B | Long travel, mixed sightlines, or objectives that need a planned escape | Distance can buy time when the team communicates and leaves before a chase closes | Late rotations and isolated players are expensive; patrol loops can cover key rooms |
| C | Corridor-heavy layout with few independent exits or a difficult rescue path | A practiced player can still win by memorizing one safe route and listening carefully | The Beast can cut off the obvious connection and pressure a small number of commitment rooms |
How to test the current map before trusting a tier
Start with a landmark, not a room name. Call the airport hall, prison wing, library loop, or another stable visual zone, then note which computer areas are actually active in the round. This prevents a common map-list mistake: treating every point on a community reference as a guaranteed objective.
Next, follow one objective-to-escape path without hacking deeply. Can the player leave through a window, vent, door, or second connection without crossing the same doorway twice? If the answer is no, the room may still be useful, but it should be treated as a commitment zone rather than a safe default.
Finally, simulate the rescue. Measure the route from a teammate to the freeze pod and from the pod to the nearest reset point. In a 10-player match, more signals can make a wide map valuable, but repeated calls, failed checks, and long rescues can also expose a team that never shares a clear zone plan.
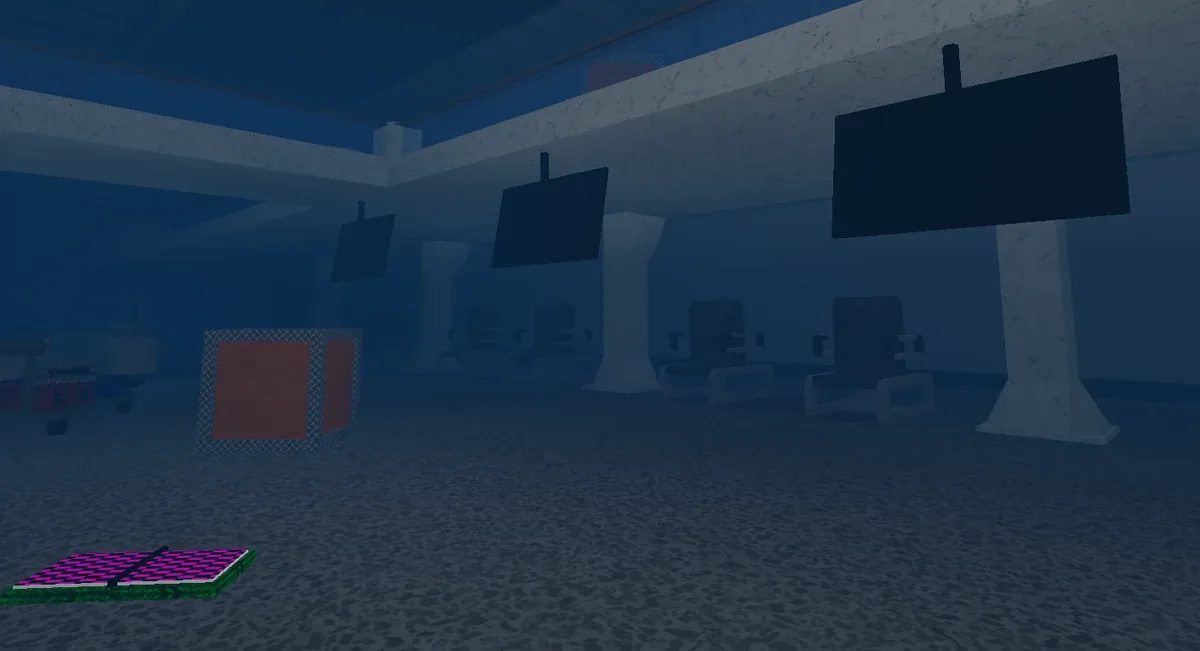
Survivor and Beast strategy by map tier
A tier list should change what you do in the round. Use the route checks below to turn a layout label into a decision rather than a decorative ranking.
Survivor checklist
- Name the zone as soon as you spawn so teammates do not duplicate the same search.
- Choose the nearest escape object before committing to a computer.
- Leave after a failed check when the room has one obvious entrance and no reset route.
- For a rescue, approach from a second connection when the direct corridor is being patrolled.
- At endgame, share exit information without sending the whole team to the most visible gate.
Beast checklist
- Use failed checks, detector sounds, rescues, and movement as direction clues rather than chasing the last room blindly.
- Patrol the connection between two unfinished objectives when the layout makes that loop efficient.
- Pressure a commitment room only when it controls the next route or rescue; standing still in one corridor can waste the map advantage.
- Carry or protect near a pod when it improves control of the surrounding connection, not only because the pod is nearby.
- In endgame, time the exit approach and make the second gate harder to reach through the shortest predictable path.
Limits and common map-tier mistakes
The biggest error is treating a comparison tool as a promise. Keep the ranking useful by separating layout evidence from personal preference and current-round information.
- A tier is not a win guarantee. A coordinated team can make a difficult map work, and a careless team can lose on a strong layout.
- Old screenshots are not live rules. Check the date and compare the reference with the current game before memorizing room geometry.
- Map size is not the same as map safety. Wide travel can buy time, but it can also make a rescue or late computer rotation impossible.
- Player count changes the value of space. A 10-player lobby creates more information and more distractions, so communication can matter more than a simple S or C label.
- Do not mix map and value intent. Map rankings belong on this guide; hammers, gemstones, trade values, and W/F/L checks belong on the value and calculator pages.
Flee the Facility map tier list FAQ
Flee the Facility map tier list summary
The best Flee the Facility map tier list is a method: check objective spread, escape choices, sightlines, and rescue distance in the live round. S-tier patterns usually give players several ways to rotate; C-tier patterns require tighter communication and a rehearsed route, but neither label replaces good decisions.
Use the current map as the source of truth, keep community blueprints dated, and change your plan when the lobby size or map version changes. That makes the ranking useful for practice without presenting a fan-made tier list as official Roblox data.
Sources and editorial notes
- Official Flee the Facility Roblox page — First-party game listing and current game context; it does not publish an official map tier list.
- Flee the Facility Wiki maps reference — Community-maintained map names and layout references; check dates because reworks can change details.
- Flee the Facility Wiki Airport reference — Community image and orientation reference used for the contextual figure above.
- Flee the Facility map tier list discussion on TierMaker — Community ranking format checked during topic research; this article does not copy its ranking.