Flee the Facility Airport Map Guide: Computers, Routes & Secrets
Learn the Airport by zones instead of memorizing one long room list: locate computers, plan rescues, manage metal detectors, and avoid the routes that trap beginners.
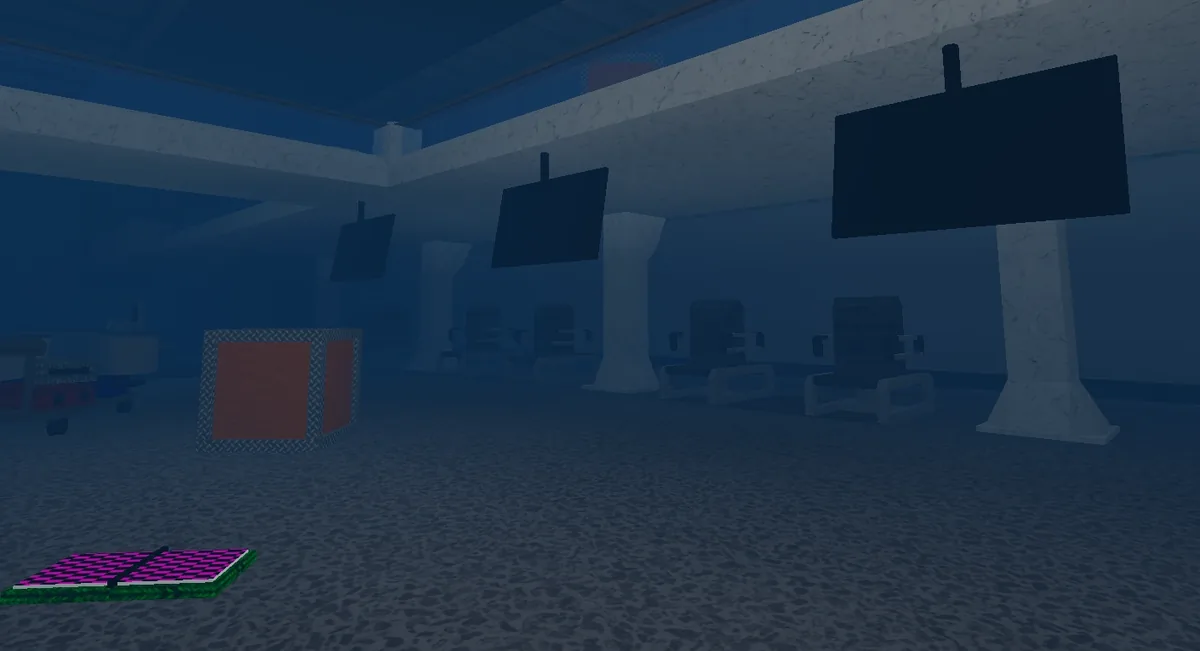
How to Read the Flee the Facility Airport Map
The Flee the Facility Airport map is easiest to learn as three connected zones: the public terminal, the service-and-control side, and the plane or garage edge. Airport has eleven possible computer locations and eleven possible Freeze Pod locations, but a round only activates the number required by the player count plus one extra computer.
As a Survivor, identify your nearest landmark, note one window or vent before hacking, and rotate to the next zone after a failed skill check. As the Beast, do not sweep every room in order. Patrol the shortest loop between active error signals, occupied pods, and the two exits.
Accuracy note: Computer and pod spawns are potential locations, not a promise that every listed point appears in one round. Airport has been reworked, so older videos may show removed geometry or pre-2024 routes.
Flee the Facility Airport Map Facts
These stable facts help separate the current Airport from outdated clips and fan recreations.
| Original release | September 14, 2019; the fifth map added to Flee the Facility |
|---|---|
| Major reworks | February 25, 2024 and September 26, 2024 |
| Possible computers | 11 locations |
| Possible Freeze Pods | 11 locations |
| Key mechanic | Four metal detectors can beep; switches in Server Room and Control Room can change their state |
| Best orientation rule | Name the zone first, then the room, then your nearest escape object |
Learn Airport as Three Connected Zones
Airport feels confusing because its grey-blue rooms repeat visual motifs. A room-by-room memory fails under chase pressure. A zone model gives you a quick answer to two useful questions: which side of the map am I on, and which connection gets me away from the Beast?
Use the terminal as the central reference. From there, one rotation leads toward controls and servers, while another reaches the plane, garage, and exterior-facing spaces. The best route is rarely a straight hallway; Survivors should chain a doorway with a window or vent, while the Beast should cut across the connection the Survivor is likely to use next.
Public terminal
Windows, Anime, Lounge and nearby public rooms offer recognizable signs, open sightlines, and several direction changes.
Control and service
Office, Storage, Control Room, Server Room and Kitchen create valuable computer checks but include risky enclosed work areas.
Plane and garage edge
Bridge, Garage and Plane stretch patrol time. Survivors gain distance here, but a poor turn can leave them far from a rescue.
All 11 Airport Map Computer Locations
The community map reference lists eleven potential computer rooms: Windows, Anime, Office, Storage, Bridge, Control Room, Garage, Plane, Lounge, Server Room, and Kitchen. Treat these as a search checklist, not a fixed spawn order.
Before hacking, scan for the screen glow, then identify the escape object you will use if the heartbeat rises. If a computer is in a room with a single obvious doorway, it is a commitment point: listen first, avoid stacking the whole team there, and leave before the Beast reaches the threshold.
| Zone | Possible computer areas | Practical check |
|---|---|---|
| Public terminal | Windows, Anime, Lounge | Check broad sightlines first; do not cross a detector just to test an empty room. |
| Control and service | Office, Storage, Control Room, Server Room, Kitchen | Plan a doorway plus a second escape option before starting the hack. |
| Plane and garage edge | Bridge, Garage, Plane | Use the long travel distance, but rotate early when a teammate is captured elsewhere. |
| Removed/scrapped reference | Gate B Metal Detector | Older lists may mention it; do not count it as a current computer objective. |
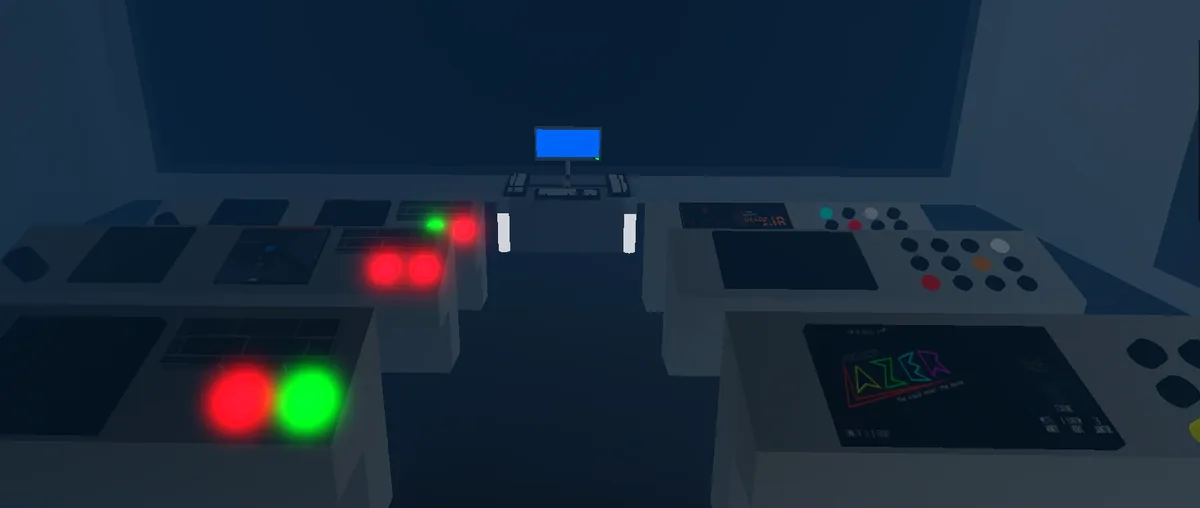
Airport Routes for Survivors and the Beast
A useful Airport route connects information rather than every room. Survivors route from a known landmark to one objective and one escape. The Beast routes from a sound or error signal to a likely connection, then returns to the highest-value pod or unfinished computer.
Metal detectors are information tools for both roles. A beep can expose movement, but repeatedly crossing a detector also makes your route predictable. The Server Room and Control Room switches matter because they can change how useful that sound cue is.
Survivor route
- Name your zone immediately after spawning.
- Check the nearest two possible computer rooms, not every room in the zone.
- Choose a vent, window, or second doorway before hacking.
- After an error, rotate across a zone boundary instead of hiding beside the same computer.
- When the last computer finishes, approach an exit from cover and watch for a Beast return path.
Beast patrol route
- Listen for detector beeps, failed skill checks, rescues, and hammer-contact information.
- Cut through the connection between zones rather than following a Survivor's exact footsteps.
- Check Control Room, Server Room, Storage, and other commitment rooms when signals are quiet.
- Carry toward a pod that keeps two unfinished computers inside a short patrol loop.
- At endgame, pressure the exit with the shorter survivor approach while checking the second gate by timing and sound.
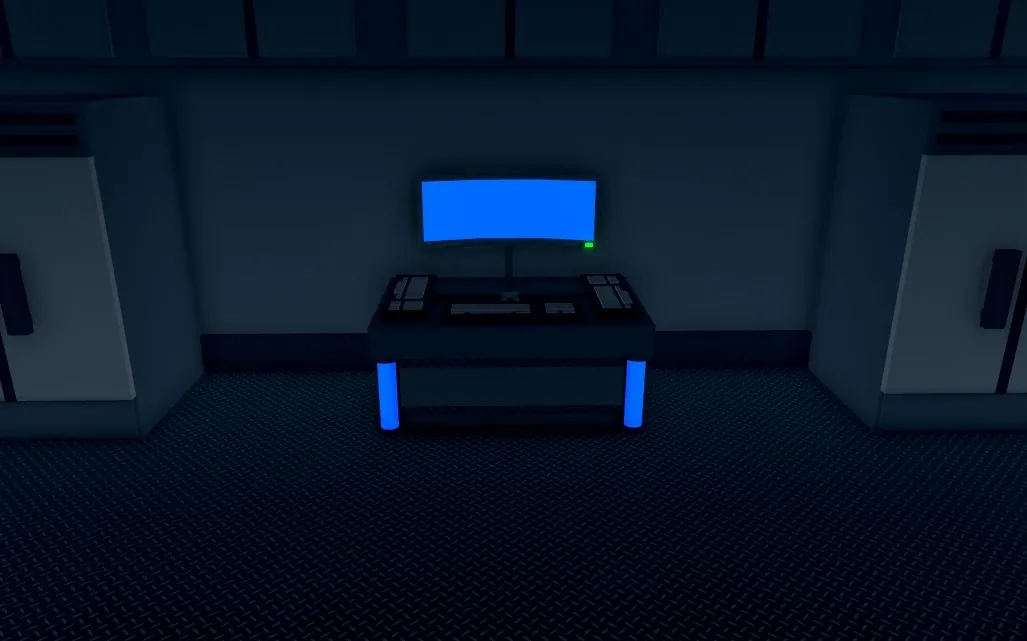
Airport Strategy by Situation
The same room can be safe for one role and dangerous for the other. Use this table as a decision guide rather than a claim that one tactic always wins.
| Situation | Survivor decision | Beast response |
|---|---|---|
| Open terminal sightline | Break line of sight before choosing the next room; avoid running straight through the whole terminal. | Angle toward the next doorway and force the Survivor to reveal which branch they take. |
| Enclosed computer room | Leave early on heartbeat; do not wait until the Beast fills the doorway. | Approach without overusing sprint so you can accelerate when the Survivor commits to an exit. |
| Detector beeps | Assume the Beast can infer your corridor and change zones after creating the sound. | Treat the beep as direction, not exact position; cut off the next connection. |
| Distant teammate rescue | Stop a low-progress hack sooner so travel time does not make the rescue impossible. | Use Airport's size to separate rescuers from active computers, but avoid stationary camping. |
| Last computer completed | Split information between exits and avoid grouping in the most visible approach. | Use the shortest gate-to-gate loop and watch for a deliberate fake opening. |
| Kitchen computer | Check both sides and keep an immediate route; the computer is easy to identify but can become a tunnel-vision trap. | Pressure the likely doorway rather than walking directly into the center of the room. |
Five Airport Map Mistakes to Avoid
Most Airport losses come from navigation and timing errors, not from failing to memorize every decorative object.
- Using an old map video as exact truth. The 2024 reworks changed visuals and some room behavior, including the Kitchen computer and detector system.
- Checking all eleven computer locations in order. Only some are active each round. Read completed screens, teammate movement, and error signals to shorten the search.
- Hacking without an exit plan. Airport has rooms that feel spacious but funnel into one predictable doorway.
- Treating a detector beep as an exact marker. It confirms movement through a gate, not where the player turns afterward.
- Starting a late cross-map rescue. Airport travel time is real. Leave earlier than you would on a compact map.
Flee the Facility Airport Map FAQ
Airport Map Route Summary
The most reliable Airport map skill is not perfect recall. It is a repeatable loop: name the zone, check the nearest likely objective, choose an escape object, and rotate when new information appears.
Survivors should turn Airport's size into time and avoid enclosed commitment rooms without a plan. The Beast should turn the same size into predictable connections, using error sounds, detector beeps, rescues, and exit timing to reduce empty patrols.
Sources and Media Credits
- Official Flee the Facility Roblox page — First-party game listing and current game description.
- Airport — Flee the Facility Wiki — Community-maintained map history, possible computer locations, mechanics, and screenshot source.
- Flee the Facility Community Maps credits — Developer Forum credits for community map contributors and Airport changes.
- Airport map discussion on Reddit — Recent community discussion used only to identify current player questions about Airport secrets.